


Tools
- Ryobi Drill
- Ryobi Impact Driver
- Ryobi Circular Saw
- Ryobi Mitre Saw
- 35mm Spade Bit
- Drill bits
Materials
- Wood Glue
- Painters Tape
- 35mm Pine Dowel
- 90x45 Dressed Pine Rails (Top plate and Bottom Plate)
- 90x45 Dressed Pine Stile
- Pencil
- Tape Measure
- Combination Square
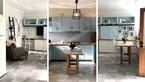
Instructions
- Decide on what length you'd like the room divider to be. In the episode, Barry made it 2.3m long.
- Using a tape measure, measure 2.3m (or your desired length) from the edge of the cornice of the wall that the room divide will be attached to. Cut the top and bottom plate to this length using either a mitre saw or a circular saw.
- Place the top and bottom plate side by side and clamp together. This will allow both plates to be identical when marking.
- To find the centre, use a tape measure and measure the centre of each end of both top and bottom plates and mark them with a pencil.
- With a combination square and a pencil, mark a line running lengthways from end to end. Do this to both top and bottom plates, as this will be a centre guide for the holes in which will be drilled later to hold the dowel in place.
- Using a tape measure, starting at one end, mark every 135mm on both top and bottom plates. This will mark where the holes where the dowel will go.
- Drill the holes in the top and bottom plate for the dowel. Measure and mark 10mm down the 35mm spade bit with tape indicating a depth of 10mm.
- Using a 35mm spade bit, drill down 10mm on every 135mm mark on the bottom plate.
- Remove the tape from the spade drill bit and reapply 30mm down from the top of the spade bit, then drill down 30mm on every mark of the top plate.
- Attach the top and bottom plates to the ceiling and the floor.
- To make sure the room divider is straight, measure the distance of where the divider will go off the closest adjacent wall and mark that measurement on both the ceiling and the floor.
- Screw in a 70mm x 45mm x 2.3m block to the ceiling where marked at the open end of the room divider. This will provide structural integrity to the room divider.
- Screw in the top plate to the block and the bottom plate into the floor.
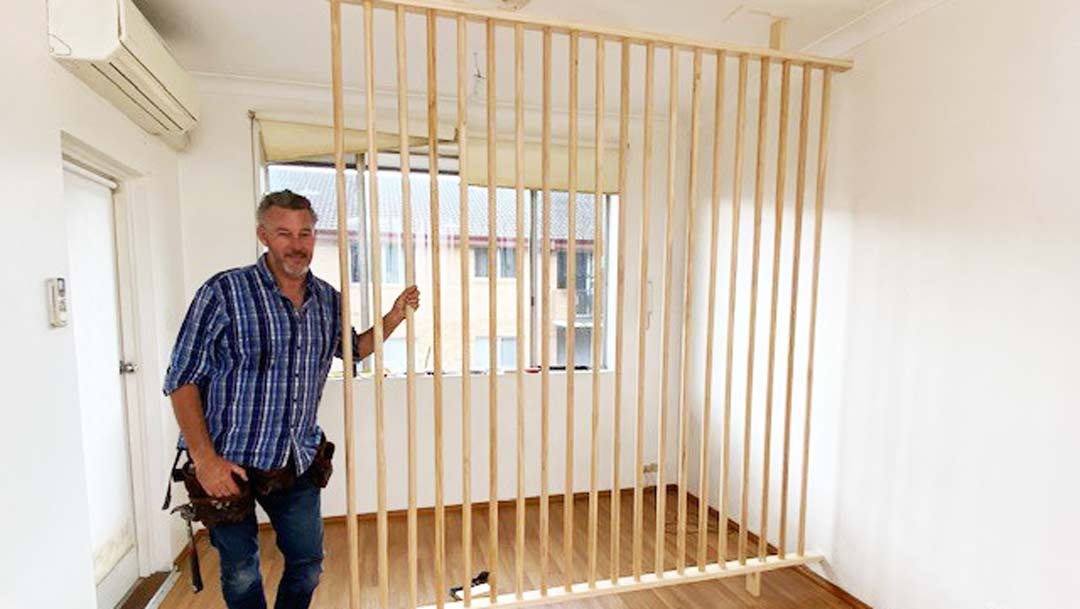
- Slide the dowel into place in the top plate. Slide each piece of dowel into each hole in the top plate. Once the dowel is secure in the top plate, squeeze a drizzle of glue into each hole in the bottom plate then simply pull each dowel down into the drilled holes in the bottom plate.
- Glue in the dowel. Apply a drizzle of glue into each hole in both the top and bottom plate before sliding the dowel into place. Slide each piece of dowel into each hole in the top plate. Once the dowel is secure in the top plate, squeeze a drizzle of glue into each hole in the bottom plate then simply push the dowel into the drilled holes in the bottom plate.
TIP: Use a wet cloth to wipe any glue that has run onto the timber.